
TL;DR:
- Effective sensory sessions for neurodiverse children follow a structured three-phase workflow: alerting, organizing, and calming, to support regulation and participation. Preparing the environment and individualized planning are essential for success, emphasizing predictability and respecting each child’s tolerance. Research shows that these goal-focused, predictable circuits lead to better functional outcomes and caregiver satisfaction than unstructured or equipment-heavy approaches.
You know that feeling when you arrive at a group session with the best intentions, only for things to unravel within minutes? Maybe your child is too wired to settle, or too withdrawn to engage, and you’re left doing emotional gymnastics trying to hold it all together whilst appearing calm. It’s exhausting. The truth is, the unpredictability of group sensory play for neurodiverse children aged 1 to 7 can feel overwhelming for everyone involved. But here’s what really helps: not more equipment, not more activities, but a repeatable three-phase structure built around alerting, organising, and calming. This guide walks you through exactly how to build or choose sessions that actually work.
Table of Contents
- Essential tools, environment, and preparation
- The evidence-backed session workflow: alerting, organising, calming
- Adapting the workflow to individual needs
- Evidence for impact: why structured workflows matter
- What most guides miss about sensory club workflows
- Next steps and finding inclusive sessions
- Frequently asked questions
Key Takeaways
| Point | Details |
|---|---|
| Three-step structure | A session works best when activities are sequenced as alerting, organising, then calming. |
| Individualisation is key | Adapt all activities, timings, and equipment to each child’s tolerance and preferences. |
| Preparation prevents issues | Proactive session planning makes sessions safer, more effective, and less stressful. |
| Evidence supports structure | Research confirms structured workflows achieve better long-term outcomes than unstructured play. |
| Participation over compliance | Focus on engagement and autonomy, not forcing completion of all activities. |
Essential tools, environment, and preparation
Before any child arrives, the room tells a story. Is it chaotic and overstimulating? Sparse and confusing? Or does it feel like a space that says, “You are safe here, and you know what to expect”? Getting the environment right is not a luxury; it is the whole foundation. Proactive, individualised planning based on observation of early warning signs and sensory preferences is clinically recommended and genuinely transforms how sessions unfold.
Here is a quick overview of the tools, equipment, and environment set-up you will likely need:
| Category | Examples | Purpose |
|---|---|---|
| 🪀 Proprioceptive tools | Weighted lap pads, resistance tunnels | Deep pressure input for body awareness |
| 💡 Visual supports | Visual schedules, low lighting options | Predictability and sensory comfort |
| 🎵 Auditory supports | White noise machine, noise-reducing headphones | Managing sound sensitivity |
| 🧸 Tactile materials | Kinetic sand, textured balls, playdough | Hands-on sensory exploration |
| 🏃 Movement equipment | Balance beams, mini trampolines, wobble cushions | Vestibular and movement input |
| 🌿 Calming corner | Fairy lights, soft cushions, fidget toys | A place to reset and self-regulate |
Before your session begins, work through this preparation checklist:
- Observe each child’s baseline energy state as they arrive; note whether they seem under-alert (sluggish, disengaged) or over-alert (dysregulated, anxious).
- Review known sensory preferences and aversions from previous sessions or parent communication.
- Prepare a quiet exit area or calming corner that any child can access at any point without needing permission.
- Reduce background noise and visual clutter before children enter; you can always add stimulation, but you cannot unsee chaos.
- Set up the activity zones in sequence so the physical layout mirrors the session flow (alerting zone first, calming zone last).
- Brief any co-facilitators on individual children’s needs and non-verbal signals to watch for.
- Have visual schedules displayed so children with limited verbal communication can see what is coming next; this is especially important for children who use AAC (augmentative and alternative communication) systems.
You can find a useful starting point in our getting started guide, which walks through how we approach environment set-up at Fidget and Spin. It is also worth reading about sensory-friendly daily routines to understand how the sensory principles used in sessions can be extended into home life.
Pro Tip: Introduce just one new sensory input per session. Too much novelty at once is like turning up every dial at the same time; you get noise, not music. Give children the chance to process something new before layering in another.
A word of caution: never assume that what works for one child will work for another. A mini trampoline might be regulating for one child and wildly over-stimulating for the next. There is no universal toolkit here.
The evidence-backed session workflow: alerting, organising, calming
Once the room is ready and you have done your preparation, it is time to run the session itself. The three-phase sensory circuit structure is not just a nice idea; it is a clinically supported sequence that helps children move from dysregulation to participation in a predictable way.
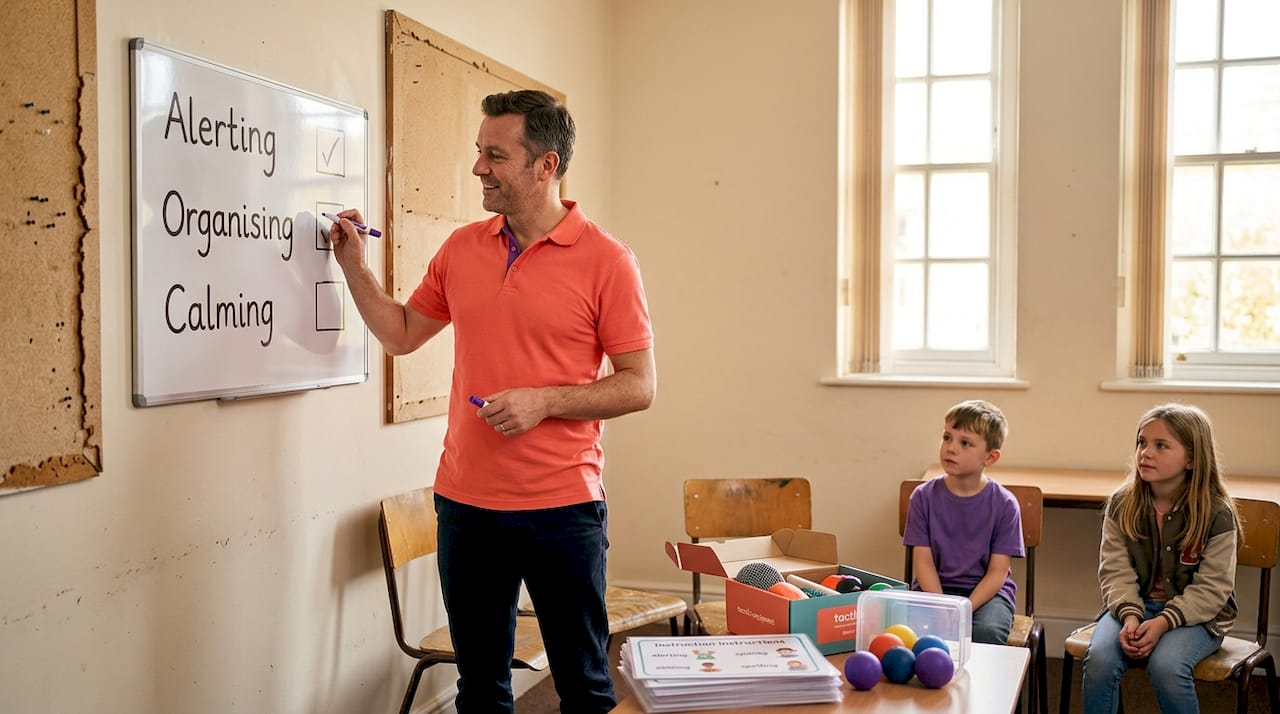
Here is how the three main session models compare:
| Session type | Structure | Pros | Cons |
|---|---|---|---|
| Equipment-led | Based on available tools, no set order | Flexible, easy to set up | No predictable arc; harder to regulate |
| Open play | Child-directed, free exploration | High autonomy | Can become overwhelming without guidance |
| Sequenced circuit | Alerting, organising, calming in order | Evidence-backed, predictable | Requires preparation and facilitation |
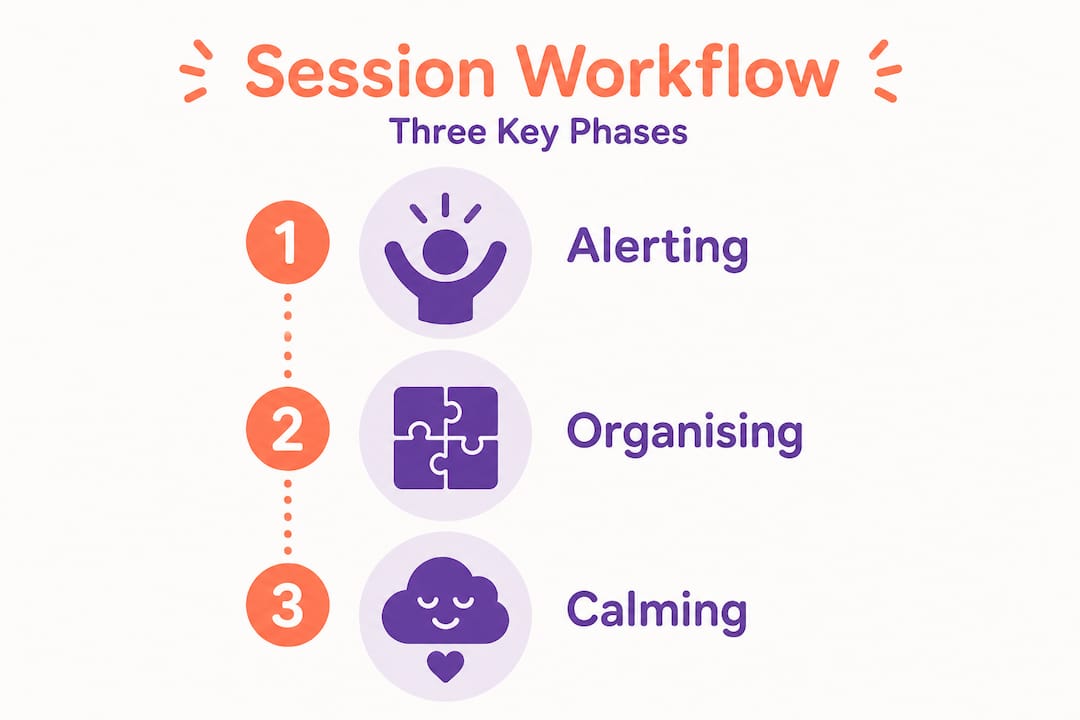
The sequenced circuit consistently outperforms the others for children who need a reliable emotional anchor. Here is how to run it, step by step:
-
Alerting phase (3 to 5 minutes) 🏃 Start with activities that wake up the nervous system and increase body awareness. Think jumping on a mini trampoline, crawling through a resistance tunnel, or bouncing on a wobble cushion. The aim is to bring under-alert children into a ready state and give over-alert children a legitimate physical outlet. Energetic, purposeful movement works best here.
-
Organising phase (3 to 5 minutes) 🧩 This middle phase bridges the gap between activation and calm. Activities like carrying weighted objects, pushing a heavy cart, or doing wall push-ups provide proprioceptive input (the sense of body position and effort) that helps the nervous system shift towards a more regulated state. Bilateral coordination activities, such as threading, rolling playdough with both hands, or drumming patterns, are also brilliant here.
-
Calming phase (3 to 5 minutes) 🌿 Now the goal is to settle and consolidate. Gentle rocking, deep pressure with a weighted blanket, slow swinging, tactile play with kinetic sand, or quiet sensory trays all fit well here. The pace slows. The lighting can dim slightly. Voices soften. The child ends the circuit feeling anchored rather than activated.
A full circuit takes approximately 15 to 20 minutes. For younger children or those with shorter attention spans, it may be closer to 10 to 12 minutes. Multiple circuits can be run back to back if the child is thriving and requesting more.
Research supports goal-focused, structured circuits as significantly more effective than simple sensory exposure for improving real-life participation. It is not just about the sensory input; it is about giving the nervous system a coherent, predictable journey. You can read more about how our structured session format puts this into practice at Fidget and Spin.
Pro Tip: Always keep the calming corner accessible during every phase of the circuit. Some children will need to step into it mid-alerting. That is not failure; that is self-regulation in action. Celebrate it.
Adapting the workflow to individual needs
The three-phase circuit is a framework, not a script. And honestly, if you treat it like a rigid script, you will find yourself trying to push jelly uphill with a toothpick. Each child brings different sensory thresholds, communication styles, and tolerance levels into the room. The workflow has to flex around them.
Here are practical ways to adapt as you go:
- Watch for early warning signs such as hand-flapping increasing, eye contact reducing, vocalisation changing, or the child moving towards the exit. These are communication, not misbehaviour.
- Adjust timing on the fly. If a child is finding the alerting phase too arousing, move into organising activities earlier. There is no prize for sticking to the plan.
- Skip phases entirely if needed. Some children arrive already in an organising or calming state. Meet them there.
- Allow multiple shorter circuits rather than one longer run. Some children regulate better with repeated, brief loops through all three phases.
- Use visual supports to signal transitions between phases. A simple card or gesture can reduce anxiety around change.
- Keep brief session notes after each visit. Over time, you will notice patterns: which activities help on high-energy days, which calming tools work fastest, what triggers a quick exit. That data is gold.
Important reminder: If a child refuses an activity or shows distress, stop. Respect that refusal entirely. Forcing engagement with a sensory input a child is not ready for does not build tolerance; it builds anxiety. You can read more about adapting to your child’s needs in our resource library.
Both a shorter circuit and a longer one can be success. Both skipping a phase and repeating one can be success. The benchmark is whether your child ends the session more regulated than they arrived. That is it.
Evidence for impact: why structured workflows matter
Some parents worry that they are asking for something that sounds nice but lacks real-world proof. The research is reassuring. Structured, goal-focused sensory integration sessions consistently outperform unstructured approaches on measurable outcomes.
| Outcome measure | Structured SI sessions | Unstructured sensory play |
|---|---|---|
| Occupational performance | Significant improvement | Minimal change |
| Caregiver satisfaction | Significant improvement | Moderate improvement |
| Goal attainment | Higher rate achieved | Variable, lower rate |
| Self-regulation (reported) | Improved in most cases | Inconsistent results |
In one well-designed randomised controlled trial, occupational therapy using sensory integration alongside an evidence-based home programme improved goal-relevant occupational performance significantly compared to a home programme used alone. The p-values were compelling: p = 0.036 for performance and p = 0.034 for caregiver satisfaction. These are not marginal differences; they are statistically meaningful improvements in real-life functioning.
What that means in plain terms is this: when sessions are structured around functional goals rather than just sensory exploration for its own sake, children make faster, more visible progress in everyday skills. Dressing, eating, playing alongside peers, tolerating transitions. The things that matter most to families.
Consistency across settings amplifies results considerably. When the same session structure is echoed at home, whether through a short daily sensory circuit or paediatric co-regulation support strategies, the nervous system gets more opportunities to practise regulation. You can explore how local group outcomes reflect this research on our Fidget and Spin homepage.
What most guides miss about sensory club workflows
Here is something I feel strongly about, and it is not always popular to say: the flashiest sessions are often the least effective. A room bursting with equipment, bubble machines, UV lights, twenty sensory stations, and a rotation every two minutes sounds wonderful. It probably photographs beautifully. But for many neurodiverse children, especially those who are already over-alert or easily dysregulated, that level of novelty is not an invitation; it is an assault.
More equipment almost always equals more dysregulation for the children who need support most. The research on goal-focused regulation is clear: evidence-based sensory sessions prioritise individual tolerance and structured sequencing over sensory exposure for its own sake. When sessions drift into equipment-led activity without clear functional goals, outcomes suffer even when the activities look impressive from the outside.
The contrarian truth is that a child who walks calmly to the calming corner mid-session and spends five minutes there before rejoining is having a better session than a child who completes all the activities in order but is visibly dysregulated throughout. Autonomy is not a sign of chaos; it is a sign of developing self-regulation. That should be celebrated.
What we measure matters enormously. If you are measuring success by how many activities your child completed, you are measuring the wrong thing. Measure engagement on their terms. Measure how calm they were at the end. Measure whether they sought the session out again willingly. Those are the real indicators that the workflow is doing its job.
Next steps and finding inclusive sessions
Now that you have a clearer picture of what an effective sensory session looks and feels like, the question becomes: where can you access this in Brighton and Hove?
At Fidget and Spin, every session is built around exactly the evidence-backed workflow described in this guide. We keep equipment purposeful and well-chosen, facilitate the alerting to organising to calming arc, and ensure every child has access to a calming corner throughout. Our sessions are designed by people who genuinely understand what it means to parent a child with sensory differences, because many of us live it too. If you are ready to find out more, you can learn more about our approach or book a local session directly. If your preferred group is currently at capacity, you can easily add your child to the waitlist so you are first to know when a space opens up. We would love to meet you both.
Frequently asked questions
What is the best order for activities in a sensory club session?
The most effective order is alerting, then organising, and finally calming activities, each running for approximately 3 to 5 minutes, as supported by sensory circuit guidance. This sequence helps the nervous system move predictably from activation to a settled, regulated state.
How long should a sensory club session last?
Aim for 15 to 20 minutes in total, based on recommended circuit timings, though younger children or those with lower tolerance may need shorter sessions of 10 to 12 minutes. Always adjust based on the individual child’s energy and engagement levels.
How can I adapt a session for my child’s needs?
You can change timing, skip phases, or allow multiple shorter circuits based on your child’s signals, as individual tolerance should always guide adaptation. Always respect dislikes, and ensure the calming corner remains accessible throughout the entire session.
Is there evidence that structured workflows make a difference?
Yes, one RCT found that structured sensory integration sessions significantly improved both functional performance and caregiver satisfaction compared to unstructured approaches. The results were statistically significant at p = 0.036 and p = 0.034 respectively.
Should children be required to participate in every activity?
No. Offering choice and respecting refusals entirely supports self-regulation and builds genuine trust in the session environment. A child who chooses the calming corner over an activity is practising exactly the kind of self-awareness that structured sessions are designed to encourage.