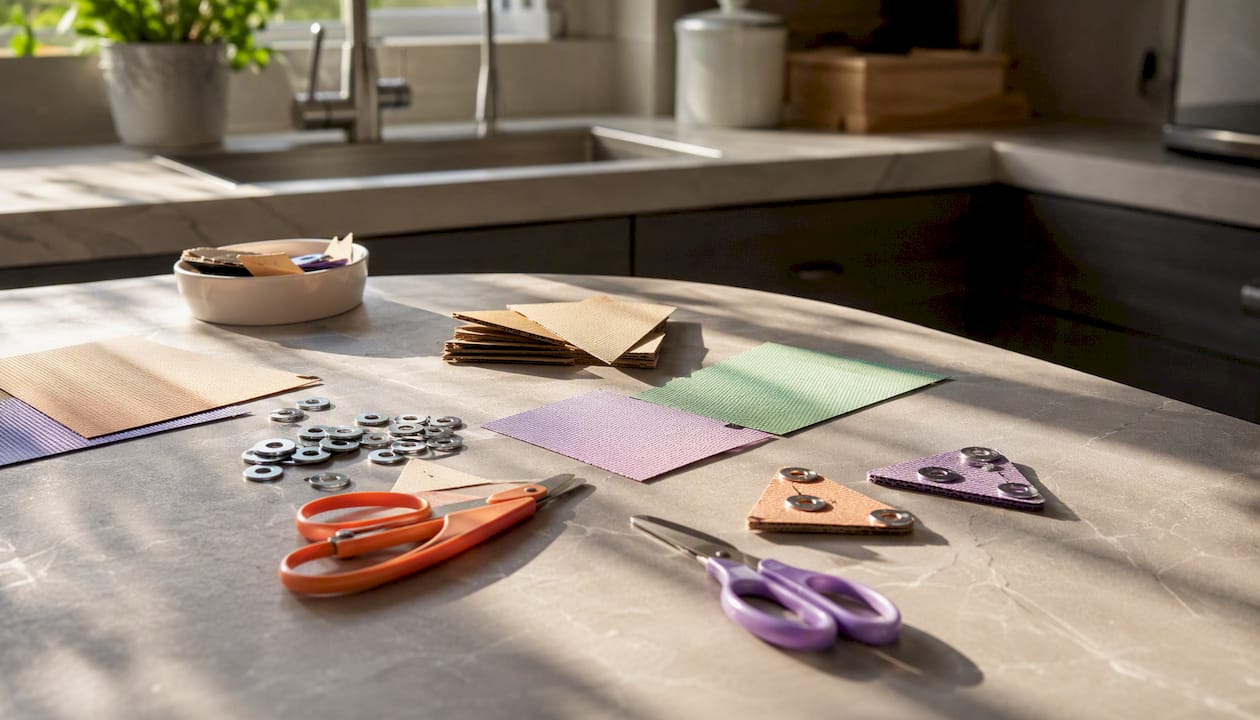
This page gives you 12 concrete fidget spinner examples, three step-by-step DIY projects, printable templates, and sensory-aware guidance for parents and makers. Whether you want a five-minute card spinner or a 3D-printed gear design, there is a project here you can start today.
What’s on this page:
- A gallery of 12 spinner types with a quick comparison table
- Three DIY projects: starter, intermediate, and advanced
- Step-by-step instructions for a bearingless card spinner (ready in 20 minutes)
- UK materials list and sourcing tips
- The physics of spin, explained simply
- Safety and age guidance, including school talking points
- Sensory and research notes for neurodiverse families
- Printable templates, SVG and STL file guidance
- A sources list and FAQ
Pro Tip: If you are here for the quick build, jump straight to the step-by-step card spinner section. If you want to match a spinner type to your child’s sensory profile, the gallery comparison table is the fastest route.
Key takeaways
Matching a spinner’s design to a child’s sensory profile matters more than choosing the most popular model. A quiet card spinner built at home can be as effective as a commercial bearing design, provided it is balanced and weighted correctly.
| Point | Details |
|---|---|
| Start with card | A bearingless card tri spinner takes 20–30 minutes and costs almost nothing to make. |
| Outer weight extends spin | Gluing coins or washers to prong tips increases moment of inertia and lengthens spin time. |
| Match type to sensory profile | Parents of autistic children report anxiety reduction correlating with sensory-seeking scores; trial individually. |
| Silent types suit schools | Card, fabric, and rubber-shielded bearing spinners are far easier to negotiate with teachers than noisy or LED designs. |
| Fidget and Spin | Weekly sensory sessions and SEN-friendly birthday parties in Brighton, Hove and Sussex for neurodiverse children aged 1–7. |
Table of Contents
- 12 fidget spinner examples and what each one is best for
- Three DIY projects to try: starter, intermediate, and advanced
- How to make a simple bearingless card tri spinner
- Materials, tools and where to buy them in the UK
- Why some spinners spin longer than others
- Safety, age guidance and talking to schools
- What parents of neurodiverse children should know about spinners
- Printable templates, SVGs and 3D files: what to download
- A note from me, parent to parent
- Sensory play sessions and SEN-friendly parties in Brighton and Sussex
- Sources
- FAQ
12 fidget spinner examples and what each one is best for
Here is a broad range of spinner types, from the simplest paper fold to a light-up zoetrope. One of these will suit your maker level, your child’s sensory profile, or both.
- Tri spinner (three-prong) — the classic shape. Three symmetrical prongs around a central bearing. Good for most ages and the easiest to balance. Suits tactile seekers who want something to hold and spin repeatedly.
- Dual spinner (two-prong) — simpler geometry, slightly harder to balance. Good for makers who want a flatter profile and a different hand feel.
- Bearingless paper or card spinner — no bearing needed. A folded or cut card design with a toothpick or straw axle. Classroom-safe, cheap, and reproducible in minutes. Ideal for craft sessions with primary-age children.
- 3D-printed spinner — printed in PLA or PETG, usually designed around a standard 608 bearing (the same size used in skateboards). Precise, durable, and endlessly customisable. Suits makers with access to a printer.
- Laser-cut spinner — cut from 3mm plywood or acrylic. Clean edges, consistent weight, and a satisfying tactile surface. Good for makers with access to a school or makerspace laser cutter.
- Gear or tri-gear spinner — interlocking gears that turn together as the spinner rotates. The Tri-Gear design from Fidgetopia-UK is a well-known 3D-printed example: smooth motion, strong tactile feedback, and visually engaging for sensory seekers.
- Zoetrope or LED spinner — LEDs mounted on prongs create a light pattern when spinning. Strong visual stimulation. Better suited to visual sensory seekers at home than to quiet classroom use.
- Coin-weighted spinner — a card or printed base with coins (2p pieces work well) glued to the outer prongs. Heavier outer mass means longer spin time. A good intermediate project.
- Wooden handcrafted spinner — shaped and sanded from a small piece of hardwood or craft ply. Warm tactile feel, quiet, and durable. Suits older makers and woodworking clubs.
- Fabric or soft spinner — a sewn or felted design with a weighted centre. No sharp edges, very quiet, and safe for toddlers. Useful for children who mouth objects (though always supervise).
- Mini or keychain spinner — a small-scale tri or dual design with a keyring loop. Discreet, portable, and useful for older children who want something in a pocket or bag.
- Modular multi-bearing spinner — several bearings arranged around a central hub. Complex to build but produces a rich, layered tactile sensation. Suits experienced makers and older teens.
How do these types compare?
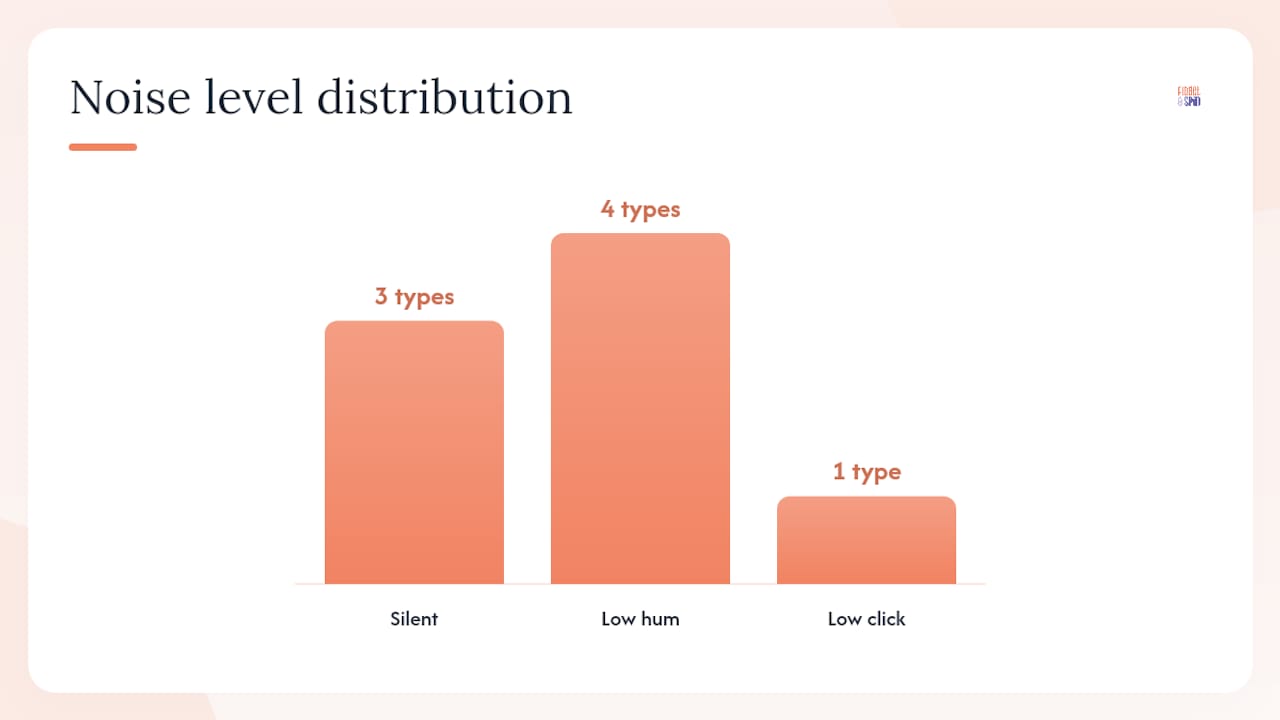
| Type | Noise level | Ease to make | Durability | Sensory suitability |
|---|---|---|---|---|
| Bearingless card | Silent | Very easy | Low | Tactile, classroom-safe |
| Tri spinner (bearing) | Low hum | Moderate | High | Tactile, general use |
| Coin-weighted card | Silent | Easy | Low–medium | Tactile, weighted feel |
| 3D-printed | Low hum | Requires printer | High | Tactile, visual |
| Laser-cut wood/acrylic | Low hum | Requires cutter | High | Tactile, visual |
| Gear/tri-gear | Low click | Requires printer | High | Tactile and visual |
| Zoetrope/LED | Low hum | Advanced | Medium | Visual seekers only |
| Fabric/soft | Silent | Easy–moderate | Medium | Safe for toddlers |
Pro Tip: For classroom use, silent types (card, coin-weighted, fabric) are far easier to negotiate with teachers than bearing-based designs. More on that in the safety section.
Three DIY projects to try: starter, intermediate, and advanced
Choosing a project is easier when you know roughly how long it takes and what sensory experience it produces.
1. Starter: bearingless tri spinner from card (20–30 minutes, age 5+)
A tri spinner cut from thick card with a toothpick or paper straw axle. No bearing, no specialist tools. The spin is shorter than a bearing design, but the build is genuinely achievable in a single sitting. Quiet, tactile, and easy to decorate. Good for classroom craft sessions or a rainy afternoon at home.
- Who it’s for: beginners, primary-age children with adult supervision, craft teachers
- Must-have material: 300gsm card or cereal-box card
- Sensory fit: quiet, tactile, low visual stimulation
- Age guidance: 5+ with supervision; not suitable for under-threes (small parts)
2. Intermediate: coin-weighted card spinner with syringe-bearing hack (45–60 minutes, age 8+)
The same card base as the starter, but with 2p coins glued to the outer prongs and a small syringe cap or pen lid used as a bearing housing. The added outer mass increases spin time noticeably. A satisfying step up that teaches the physics of balance and weight distribution.
- Who it’s for: older children, parents making with a child, makers who want to understand the physics
- Must-have material: 2p coins (three) and strong PVA or epoxy
- Sensory fit: tactile, slightly weighted feel in the hand
- Age guidance: 8+ with adult help for gluing
3. Advanced: 3D-printed or laser-cut gear spinner (2–4 hours including print/cut time, age 12+)
Download a free STL or SVG file (see the templates section), print or cut your design, and press-fit a 608 bearing. Gear variants add interlocking motion and strong visual interest. This is the project for makers who want something that lasts and looks considered.
- Who it’s for: teens, adult makers, anyone with access to a printer or makerspace
- Must-have material: 608 bearing (widely available on Amazon UK or at hardware shops)
- Sensory fit: tactile and visual; gear designs add auditory click
- Age guidance: 12+ for 3D-printed designs; sharp edges on laser-cut acrylic need adult finishing
Pro Tip: Start with the card spinner even if you plan to 3D-print later. Building one by hand first teaches you exactly why balance and outer weight matter, which makes the advanced project much more intentional.
How to make a simple bearingless card tri spinner
I remember sitting at the kitchen table with Remy, a cereal box, and a toothpick, genuinely not sure it would work. It did. A bearingless card spinner spins well enough to be satisfying, costs nothing, and takes under half an hour.
What you need
- Thick card (300gsm craft card or a cereal box)
- Pencil and ruler
- Scissors or a craft knife (adult use only)
- A toothpick or short length of paper straw (about 3cm)
- A small brass washer, metal nut, or 2p coin per prong (three total)
- Strong PVA glue or a glue gun
- Optional: coloured pens or washi tape for decorating
Step-by-step instructions
- Draw your template. On card, draw a circle roughly 7cm in diameter. Mark the centre. Draw three prongs radiating outward at 120° intervals, each about 2.5cm wide and 2cm long beyond the circle edge.
- Cut out the shape. Cut carefully around the outer prongs. An adult should use a craft knife for clean edges; scissors work fine for children.
- Add outer weights. Glue one coin or washer to the tip of each prong. Press firmly and allow to dry fully before the next step. Equal weight on all three prongs is the single most important thing for a smooth spin.
- Make the axle housing. Cut a 1.5cm length of paper straw. Push it through the centre of the card shape so it protrudes equally on both sides. Glue it in place and allow to dry.
- Insert the axle. Push the toothpick through the straw. It should spin freely with minimal wobble. If it grips, sand the toothpick lightly or widen the straw slightly.
- Test the spin. Hold the toothpick between thumb and forefinger and flick a prong. It should spin for at least 10–15 seconds. If it wobbles, check that all three weights are equal and that the straw is perfectly centred.
- Decorate. Coloured pens, stickers, or washi tape all work. Patterns that create optical effects when spinning are particularly satisfying for visual sensory seekers.
Safety note: Toothpicks have sharp ends. Snap or sand the tips before handing the finished spinner to a young child. The coins and washer are a choking hazard for children under three; keep this project for age five and above with supervision.
Troubleshooting:
- Wobbles badly: one prong weight is heavier than the others. Remove and re-glue with equal amounts.
- Stops quickly: the straw is gripping the toothpick. Ease the fit or lightly wax the toothpick with a candle stub.
- Prong snaps off: the card is too thin. Use 300gsm minimum, or double up two layers of cereal-box card.
Pro Tip: A paper straw housing is the single biggest upgrade you can make to a bearingless spinner. It keeps the axle centred and reduces friction far better than pushing a toothpick straight through card.
Materials, tools and where to buy them in the UK
Most of what you need is already in the house or available from a high-street craft shop.
Core materials and UK sources:
- Thick card (300gsm+): Hobbycraft, The Works, or reuse cereal boxes and packaging
- 608 bearings: Amazon UK, eBay UK, or local skateboard shops (often sold as spare parts); expect to pay £1–£3 each
- Brass washers and metal nuts: B&Q, Screwfix, or Wilko hardware sections; a bag of M8 nuts costs under £2
- 2p coins: your pocket (free, and perfectly weighted for outer prongs)
- PVA glue and glue guns: Hobbycraft, Poundland, or Amazon UK
- Paper straws: most supermarkets now stock them; Wilko sells packs cheaply
- 3D-print filament (PLA): Amazon UK, 3DJake UK, or Filamentive (a UK-based supplier with recycled options)
- 3mm craft plywood for laser cutting: Hobbycraft, Timber Online, or local timber merchants
Buying tips:
- For bearings, look for ABEC-7 or ABEC-9 rated 608 bearings. They spin more smoothly and quietly than unrated ones.
- For classroom use, choose bearings without metal shields that rattle. Rubber-shielded bearings (marked 2RS) are quieter.
- Avoid tiny loose parts (small nuts, washers under 2cm diameter) for any child under five. Glue all weights down permanently.
- Craft ply from Hobbycraft is consistent in thickness, which matters for balance on laser-cut designs.
Pro Tip: If you do not have a 608 bearing, a pen lid with a smooth inner bore makes a workable substitute for a card spinner. It is not as smooth, but it is free and it teaches the same principle.
Why some spinners spin longer than others
Balance and outer weight are the two biggest factors in spin time. A spinner that wobbles loses energy fast. A spinner with all its mass near the centre stops quickly even if it is perfectly balanced.
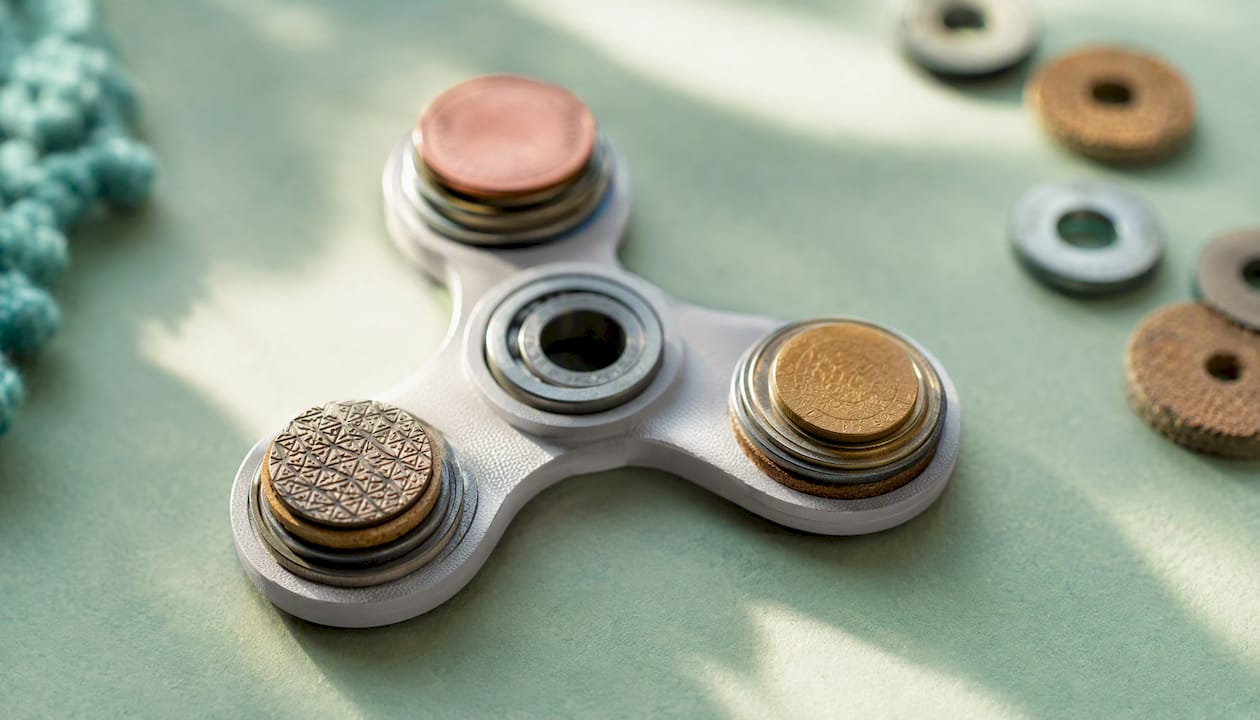
Rotational dynamics explain this: moving mass further from the centre increases the moment of inertia, which means the spinner resists changes to its rotation and keeps going longer. Adding coins or washers to the outer prongs of a card spinner can double its spin time compared with an unweighted version of the same design.
What affects spin: a quick reference
| Factor | Effect on spin | Quick fix |
|---|---|---|
| Unequal prong weights | Wobble, short spin | Re-glue weights to equal mass |
| Mass near centre only | Short spin time | Move weights to outer prong tips |
| High axle friction | Stops quickly | Wax axle or use a straw housing |
| Asymmetric prong shape | Wobble | Redraw template with a compass |
| Loose bearing | Rattle and wobble | Press-fit or add a thin tape shim |
Balancing checklist:
- Hold the spinner horizontally and release. It should hang level, not tip to one side.
- Flick and observe: a good spin is smooth and quiet. Wobble means unequal mass.
- Check prong symmetry by folding the template in half before cutting. Both halves should match.
- If one prong is heavier, add a small piece of tape to the lightest prong until balance is restored.
Safety, age guidance and talking to schools
Small parts are the main hazard. Any spinner with loose coins, washers, or bearings is not suitable for children under three, and under-fives should always be supervised. The NHS guidance on choking hazards applies: if a part fits inside a toilet roll tube, it is a choking risk for young children.
For school use, the conversation with a teacher or SENCO is easier when you come prepared. Fidget toys can support focus for some children with ADHD or sensory processing differences, but the evidence for general classroom use is mixed. Some controlled studies show increased on-task behaviour for selected pupils with ADHD, while other studies in general education samples show no benefit or occasional distraction.
Practical classroom agreements that tend to work:
- Two-finger rule: the spinner stays between two fingers, not thrown or passed around.
- Only when working: the spinner is a regulation tool during tasks, not a toy during transitions.
- Muted colours and no LEDs or bells in school. A plain card or wooden spinner is far less disruptive than a light-up design.
- Trial period: agree a two-week trial with observation notes before making it a permanent arrangement.
Pro Tip: Frame the spinner as a reasonable adjustment under the Equality Act 2010, not as a toy. A SENCO who sees it as a low-cost sensory tool is more likely to agree a trial than one who sees it as a distraction risk.
Age guidance summary:
- Under 3: no spinners with loose or detachable parts. Fabric soft spinners with sewn-in weights only, with close supervision.
- 3–5: bearingless card spinners with all parts glued down, adult supervision throughout.
- 5–11: bearing-based spinners with adult oversight for the build; child can use independently once assembled.
- 12+: all types including 3D-printed and laser-cut designs, with adult guidance on sharp edges.
What parents of neurodiverse children should know about spinners
I will be honest: the first time I took Remy to a mainstream soft play, we lasted about twelve minutes. The noise, the unpredictability, the other parents’ faces when he started stimming with a toy car. We left. I cried in the car park. So when I say I understand why you are researching fidget spinners at 11pm, I mean it.
The research is genuinely useful here, though it is not a clean story. A survey of 129 parents published in Current Psychology found that parents of autistic children were more likely to report that fidget spinners reduced anxiety, and that this correlated with higher sensory-seeking scores. That matches what I see with Remy. The spinner is not magic, but for a child who needs to move to regulate, having something purposeful in their hands can make a real difference.
The evidence suggests fidget toys may help some neurodivergent children, but individual matching matters more than the tool itself. A practical review of the literature concludes that trial and observation are the most reliable way to judge whether a spinner helps a specific child.
The real impact of fidget toys varies considerably by child and context. A spinner that helps Remy focus during a drawing task is a distraction during a group story. Context and sensory profile both matter.
Practical checklist for trialling a spinner with your child:
- Start with a quiet type (card or fabric) to avoid adding sensory noise.
- Trial for 10–15 minutes during a preferred, low-demand activity first.
- Observe: does the child seem calmer, more focused, or more dysregulated?
- Note whether they are spinning it constantly or picking it up and putting it down.
- If it helps, trial during a slightly more demanding task.
- If it increases dysregulation or becomes a fixation that blocks engagement, try a different fidget type.
For more on matching tools to sensory profiles, the benefits of fidget toys for neurodiverse children guide covers this in more depth.
Printable templates, SVGs and 3D files: what to download
The three most useful file formats for spinner making are PDF, SVG, and STL. Each suits a different making method.
- PDF: print at home or at a library. Best for card and paper builds. Scale to A4 and print at 100% (no “fit to page”) to preserve dimensions.
- SVG: vector format for laser cutters and vinyl cutters. Import into Lightburn, Inkscape (free), or your makerspace’s software. Scales without quality loss.
- STL: 3D print file. Import into Cura, PrusaSlicer, or similar. Most spinner STLs are designed around a 608 bearing.
Scaling guidance by age
- Toddlers and under-fives (supervised, no loose parts): aim for a diameter of 8–10cm for fabric or fully glued card designs. Larger is easier to grip and less likely to be mouthed.
- Primary-age children (5–11): 7–8cm diameter is the standard. Most free templates online are designed at this size.
- Teens and adults: 6–7cm is typical for bearing-based designs. Smaller profiles fit pockets and feel more discreet.
For 3D printing: use 20–30% infill for a lightweight spinner. Increase to 40–50% infill if you want a heavier feel without adding external weights. PLA is fine for most builds; PETG is more durable if the spinner will be used heavily.
Before handing any downloaded design to a child:
- Print or cut a test piece and check all edges are smooth.
- Confirm no parts detach under firm pulling.
- For 3D-printed designs, check the bearing is press-fitted securely and does not pop out.
- For laser-cut acrylic, sand or file any sharp edges before use.
Pro Tip: Thingiverse and Printables both host free spinner STL files. Search “fidget spinner 608 bearing” and filter by most downloaded for the most tested designs. For SVG templates, Instructables has several free card spinner patterns with printable PDFs.
A note from me, parent to parent
Remy went through a phase of carrying a spinner everywhere. Not because I read a study and decided it was therapeutic. Because he found one in a party bag, and for three weeks it was the thing that helped him sit through a car journey without climbing out of his seat. That is the whole story.
The projects on this page are a starting point, not a prescription. Your child might love the card spinner and ignore the 3D-printed one. They might use it for a week and then want something completely different. That is fine. Regulation is not linear, and the tool that works on Tuesday might not work on Friday. Make a few, observe what happens, and adapt. You know your child. Trust that.
Sensory play sessions and SEN-friendly parties in Brighton and Sussex
If DIY is not where you are right now, that is completely understandable. Some weeks, cutting out card shapes is the last thing any of us has the bandwidth for.
Fidget and Spin runs weekly sensory stay-and-play sessions for neurodiverse children aged 1–6 across Brighton and Hove, with three sensory zones designed around different regulation needs: big movement, tactile play, and quiet low-stim space. Anthony and I built it because mainstream groups were not built for children like Remy, and we were tired of leaving early.
For birthdays, our SEN-friendly party packages cover Brighton, Hove and wider Sussex. Three packages start from £220, with flexible setups for autistic, ADHD, and PDA children. We also hold Pay-It-Forward concession spots at checkout for families who need them. If you want a session or a party where your child can just be themselves, have a look at what we offer and get in touch.
Sources
- Parental perspectives on the use of fidget toys and sensory-seeking profiles in autistic and neurotypical children | Current Psychology | Springer Nature
- Using Fidget Spinners to Improve On-Task Classroom Behavior for Students With ADHD - PMC
- Are fidget toys beneficial for neurodivergent children? A look at the evidence - Epic Think Learn
- Centrifugal force — Wikipedia
Pro Tip: When preparing for a school meeting about a fidget tool, print the PMC classroom study abstract and the Epic Think Learn summary. Two pages of referenced evidence changes the tone of the conversation.
FAQ
What are the main types of fidget spinners?
The most common types are tri spinners (three prongs), dual spinners (two prongs), bearingless card or paper spinners, 3D-printed designs, laser-cut wooden or acrylic versions, and gear-based spinners. Each varies in noise level, durability, and sensory feel.
Is a fidget spinner helpful for ADHD?
Some controlled studies show increased on-task behaviour for selected pupils with ADHD, but evidence across general classroom samples is mixed. Individual trial and observation are the most reliable way to judge whether a spinner helps a specific child.
What are the top fidgets for sensory-seeking children?
Spinners, chewable jewellery, squeeze balls, and weighted lap pads are among the most commonly used. A survey of parents of autistic children found fidget spinners were associated with reduced anxiety in children with higher sensory-seeking scores; matching the tool to the child’s profile matters more than picking the most popular option.
What tricks can you do with a fidget spinner?
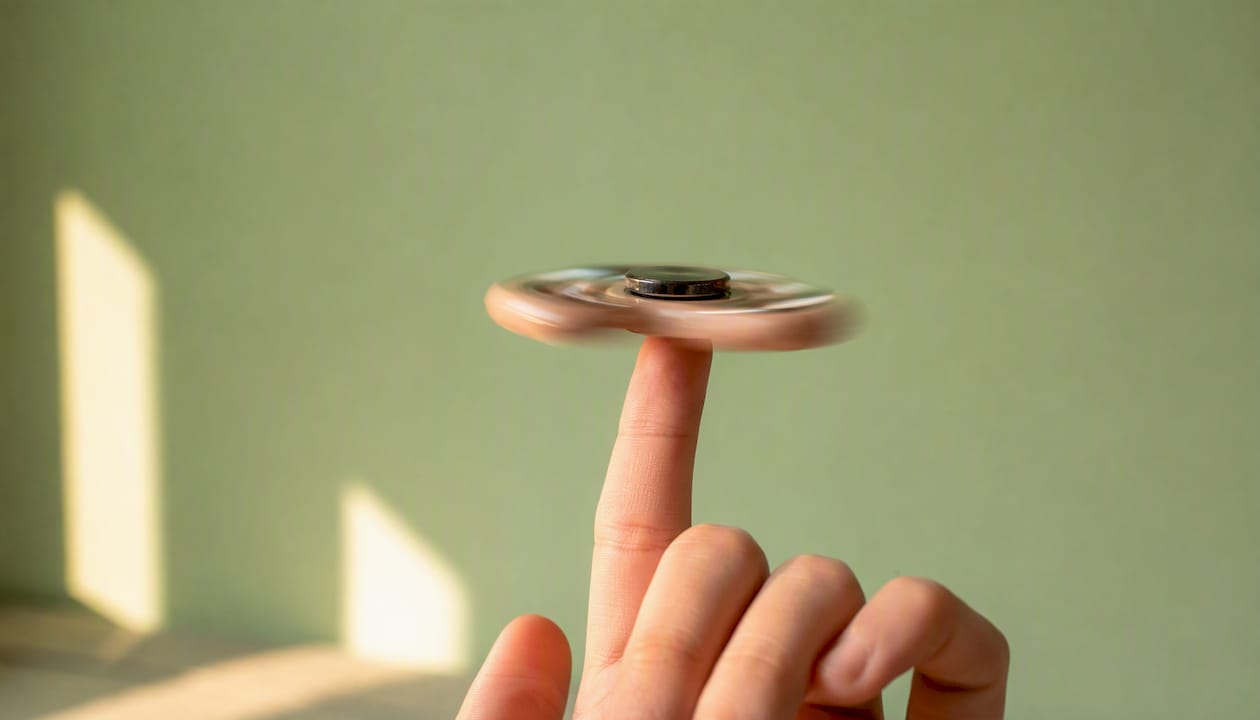
Common tricks include the one-finger balance (spinning on a single fingertip), the transfer (passing the spinning spinner from finger to finger), and the forehead balance. These require a well-balanced bearing-based spinner; a card spinner is generally too light for trick use.
How do I choose the right fidget spinner for my child?
Start with the child’s sensory profile. Tactile seekers tend to respond well to bearing-based or coin-weighted designs. Children who need quiet regulation tools do better with silent card or fabric spinners. Visual seekers may enjoy gear or LED designs, though these are rarely suitable for classroom use. Trial a quiet type first and observe for 10–15 minutes during a low-demand activity before drawing any conclusions.
Recommended
- History of fidget toys: origins to modern sensory tools | Fidget and Spin Brighton
- Why kids need fidget toys: a parent’s honest guide | Fidget and Spin Brighton
- Benefits of fidget toys for neurodiverse children | Fidget and Spin Brighton
- Spinning toys benefits: what the research actually says | Fidget and Spin Brighton