
TL;DR:
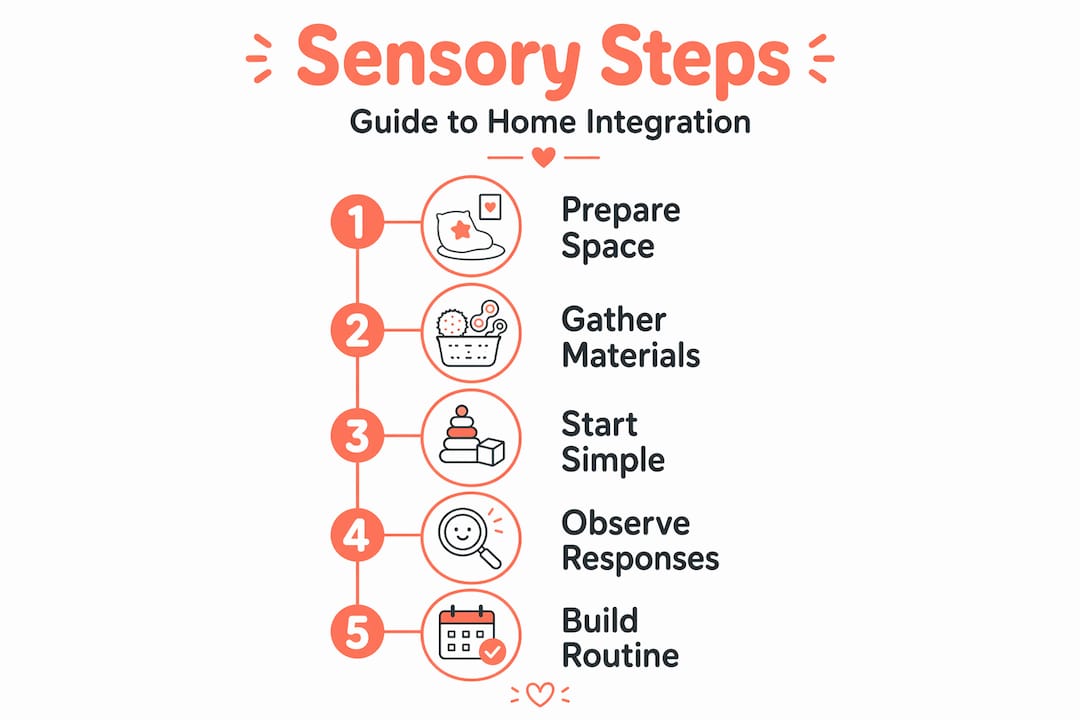
- Sensory overwhelm can turn everyday routines into battles for parents of neurodiverse children, but step-by-step sensory strategies can help improve regulation over time. Preparing a safe, consistent sensory space with simple, engaging materials and implementing brief, regular activities supports the child’s sensory needs effectively. Using visual schedules and tracking progress facilitates smoother transitions and encourages independence as part of everyday routines.
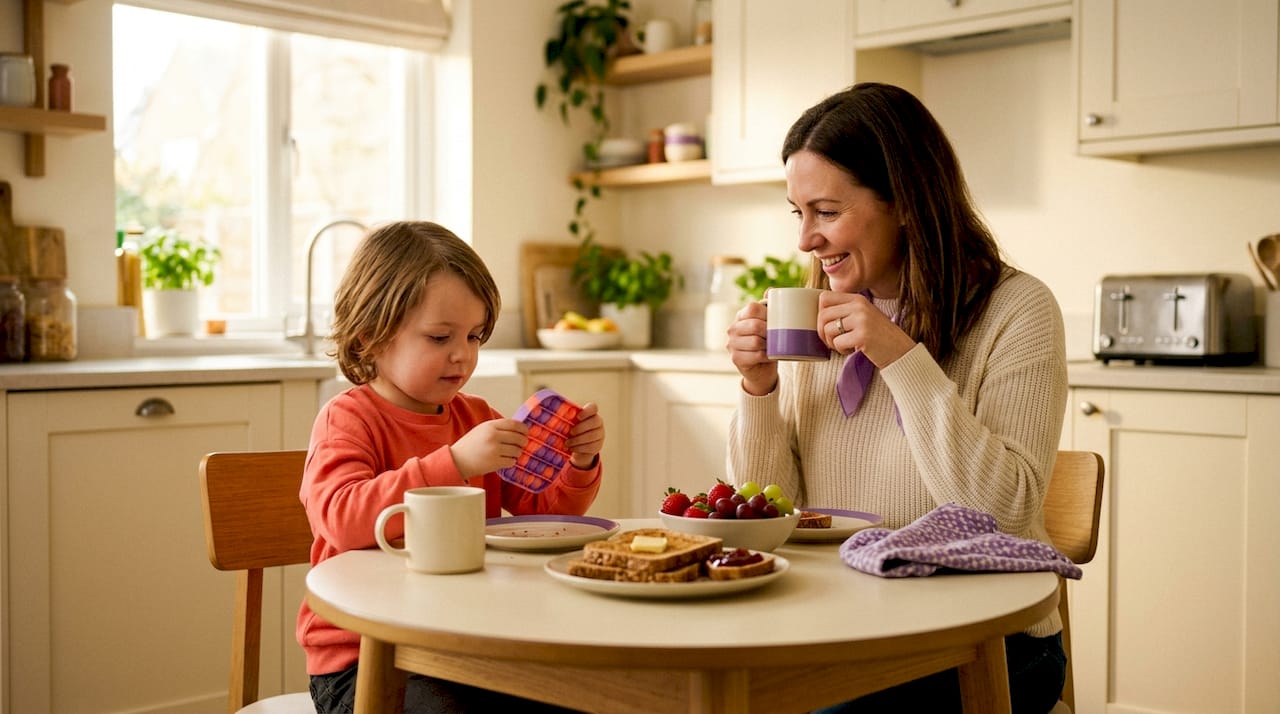
Some mornings it feels like you’re trying to defuse a bomb before breakfast. The socks are wrong, the cereal is “too loud,” and the journey to the front door has taken forty-five minutes. If you’re parenting a neurodiverse child aged one to seven, sensory overwhelm can turn ordinary routines into daily battles. The good news? Consistent sensory integration strategies step by step, built into your everyday life, can genuinely shift this. Not overnight, and not without some trial and error, but in ways that are real, measurable, and kind on both of you.
Table of Contents
- Preparing for sensory integration at home
- Step-by-step sensory integration strategies to support regulation
- Using visual schedules to ease transitions and build independence
- Tracking progress and adapting sensory strategies over time
- A parent’s perspective: what really works with sensory integration
- Discover sensory play sessions and support in Brighton
- Frequently asked questions
Key Takeaways
| Point | Details |
|---|---|
| Consistency matters | Perform 4-5 sensory activities every 1.5 to 2 hours to help your child stay regulated throughout the day. |
| Start simple and short | Use brief proprioceptive exercises like wall pushes before challenging moments for better participation. |
| Use visual supports | Create easy-to-follow visual schedules with photos and step completions to reduce anxiety around transitions. |
| Track progress | Keep a simple log to observe what sensory activities calm your child and adjust your approach accordingly. |
| Seek support when needed | Consult professionals if home strategies are not enough or safety concerns arise to get tailored help. |
Preparing for sensory integration at home
Before you dive into any sensory processing activities, a little preparation goes a long way. Think of it like prepping a recipe: you wouldn’t start baking without checking you have the ingredients. The same logic applies here.
Safety comes first, always. Sensory integration therapy at home should focus on predictable, short activities and steer clear of anything that triggers dizziness, nausea, or visible distress. Fast spinning, unsupported jumping on furniture, and any activity that causes your child to cry or withdraw are all off the table, regardless of how well-meaning the intention.
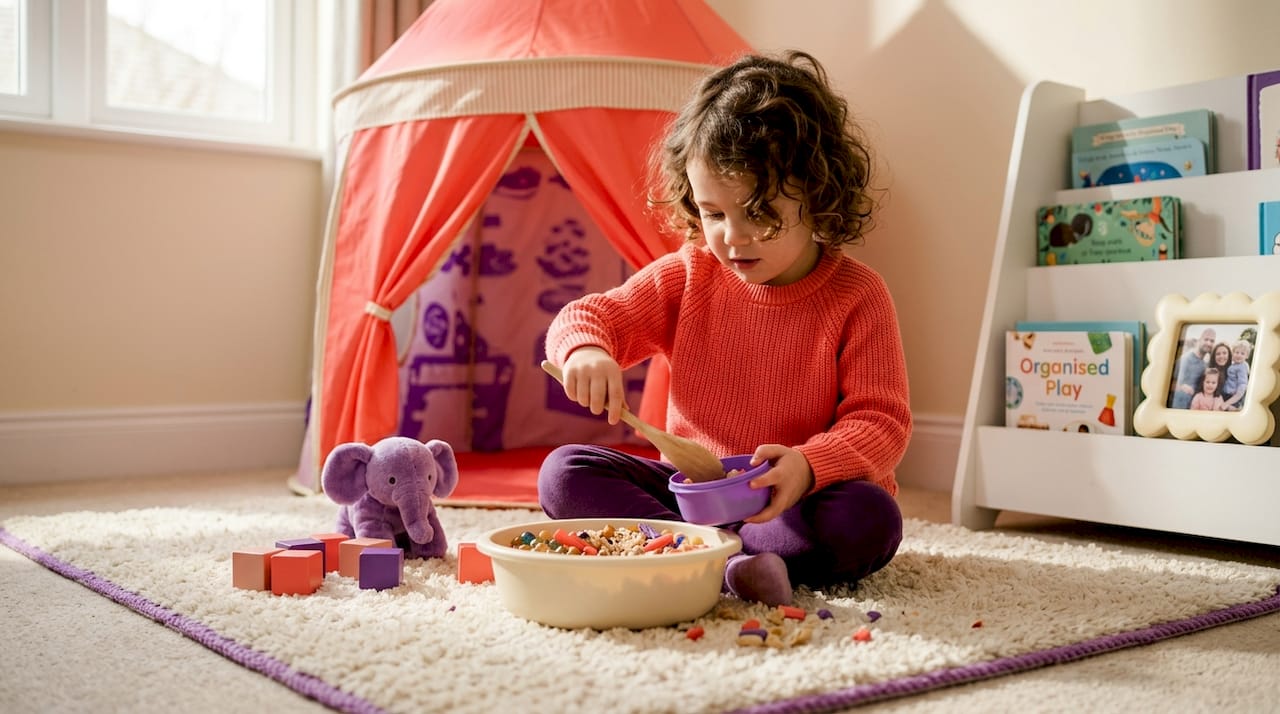
What you actually need (it’s simpler than you think):
- 🌾 A sensory bin filled with dry rice, lentils, or kinetic sand for tactile input
- 🏋️ A small backpack with light weight for proprioceptive “heavy work”
- 🎨 Playdough, shaving foam, or cornflour gloop for texture exploration
- 💦 A washing-up bowl of water with cups and funnels for sensory calming
- 🧸 Firm cushions or a beanbag for deep pressure and body awareness
Most of these cost very little and can live in a designated “sensory corner” of your living room or kitchen. Having a consistent space reduces the cognitive load for your child — they begin to associate that corner with calm and regulation, which is half the work done before you’ve even started.
| Material | Sensory system targeted | Good for |
|---|---|---|
| Rice or lentils in a bin | Tactile, proprioceptive | Calming, exploration |
| Weighted backpack | Proprioceptive | Focus before transitions |
| Playdough or gloop | Tactile, proprioceptive | Fine motor, self-regulation |
| Water play | Tactile, visual | Calming, sensory seeking |
| Firm cushions/beanbag | Proprioceptive, vestibular | Grounding, deep pressure |
Set realistic expectations now, too. Three to five minutes of focused sensory activity is genuinely enough when you’re starting out. You’re not aiming for a therapy session: you’re aiming for a small, consistent input that your child’s nervous system can absorb. Shorter and more frequent beats longer and occasional, every time. You can find more sensory integration insights on the Fidget and Spin blog as you build your confidence at home.
Pro Tip: Start with one new activity per week. Introducing everything at once is overwhelming for children who are already sensory-sensitive. Build slowly, observe carefully, and trust what you see.
Having prepared safely and gathered your materials, we can now explore the step-by-step sensory activities that will support your child’s regulation throughout the day.
Step-by-step sensory integration strategies to support regulation
This is where it all comes together. These are not abstract tips — this is a practical approach you can start tomorrow.
The concept at the heart of this is a sensory diet. Not food, despite the name. A sensory diet consists of four to five specific activities repeated every 90 to 120 minutes throughout the day to maintain regulation in children aged one to seven with sensory challenges. Think of it as topping up your child’s sensory tank before it runs dry, rather than waiting for the meltdown that signals it’s already empty.
Step-by-step sensory techniques for a basic daily sensory diet:
- Morning grounding (7:00 am): Start the day with two minutes of firm, rhythmic massage on arms and legs over clothing. This wakes up the proprioceptive system gently.
- Pre-breakfast heavy work (7:15 am): Ten wall pushes or a minute of “bear walking” on all fours before sitting down to eat. Proprioceptive activities like wall pushes before mealtime prepare the nervous system for the demands of sitting and eating.
- Mid-morning sensory bin (10:00 am): Five minutes in the rice or lentil bin, or playdough exploration. Follow your child’s lead on pace.
- Pre-dressing heavy work (12:30 pm): Before tackling clothing, try a short “body squeeze” (gentle, firm pressure on shoulders and arms) or have your child carry their shoes to the door in a small bag.
- Afternoon calming (3:00 pm): Water play or time on the beanbag with firm cushion pressure. This is especially useful before homework time or any structured activity.
Notice what each step does: it preempts the dysregulation rather than reacting to it. You’re not reaching for the rice bin because your child is already screaming. You’re offering it before the screaming starts. That shift in timing changes everything.
What to expect in the first two weeks:
- Your child may ignore or resist new activities initially. That’s normal.
- Some children show immediate calming; others need seven to ten days of repetition before you notice a shift.
- Regression is not failure. If a settled week is followed by a difficult one, check for external stressors (illness, disrupted sleep, changes at nursery).
| Week | What you might observe | What to do |
|---|---|---|
| Week 1 | Resistance, curiosity, occasional engagement | Stay consistent, keep sessions short |
| Week 2 | More willingness, some calming noted | Add one new activity if settled |
| Week 3-4 | Clearer patterns of what helps | Refine timing and type of activities |
Embedding these strategies into real routines, rather than treating them as separate “therapy time,” is what makes them sustainable. Our sensory play sessions at Fidget and Spin follow the same logic, weaving sensory input naturally through play rather than spotlighting it. You can also explore structured sensory sessions to see how this works in a supported group setting.
Pro Tip: Use a visual timer during sensory activities. Children with sensory processing differences often struggle with transitions. A sand timer or visual countdown removes the surprise of “it’s over now” and makes ending an activity much less fraught.
With these step-by-step strategies in mind, let’s look at how visual supports can help solidify daily routines and reduce anxiety even further.
Using visual schedules to ease transitions and build independence
Transitions are kryptonite for many neurodiverse children. Moving from one activity to the next can feel genuinely disorienting when your sensory system is already working overtime. Visual schedules are one of the most effective and underused tools available to parents, and they do not require any specialist training to create.
Visual schedules with two to four steps, paired with a simple completion system, reduce transition anxiety in young neurodiverse children after roughly two weeks of consistent use. Two weeks sounds slow, but think about how long it takes any of us to trust a new system.
How to build and use a visual schedule effectively:
- Use real photographs of your child doing each activity, not clipart or downloaded images. Real photos work better than clipart, and three to five steps in a sequence is ideal for this age group.
- Laminate the cards and place them at your child’s eye level, somewhere consistent (a kitchen cabinet door works brilliantly).
- Add a physical “done” action: flipping cards face-down, posting them in a box, or peeling off a Velcro square. The physical act of completion gives a satisfying, concrete signal that one thing has ended and another is beginning.
- Model the schedule yourself for the first three to five days. Narrate it simply: “First shoes, then coat, then door.” You’re teaching the concept before expecting independent use.
- Pair the schedule with a short sensory activity at the point of transition. For example, after flipping the “shoes” card, your child carries the coat bag to the door (heavy work). The visual and sensory input reinforce each other.
Visual schedules empower children in a way that verbal reminders rarely do. When the instruction lives on the wall rather than in your voice, it stops being a battle of wills and becomes a shared reference point. That small shift is genuinely freeing for both of you. Find more visual schedule guidance in how our sessions are structured.
Pro Tip: Keep a travel-sized version of your child’s most-used schedule on a keyring for outings. Even two or three cards can give enough predictability to manage a trip to the supermarket.
Finally, let’s look at how to track your child’s progress and adjust your sensory strategies for lasting success.
Tracking progress and adapting sensory strategies over time
Here’s something nobody warns you about: what works brilliantly in February might stop working in April. Your child’s sensory needs shift with growth spurts, developmental leaps, changes in their social world, and seasons. A sensory diet is a living document, not a set-and-forget prescription.
Keeping a simple daily log is the single most useful thing you can do to make your strategies better over time. Tracking sensory diet responses helps you refine activities and adapt to changing needs, noticing things like morning movement-seeking versus afternoon deep pressure preferences.
What to log (it only needs to take two minutes):
- Which sensory activity you did and at what time
- Your child’s behaviour immediately before (calm, agitated, dysregulated)
- Your child’s behaviour twenty minutes after
- Any notable environmental factors (noisy, hot, new people)
Over two to three weeks, patterns emerge. You might notice your child is most sensory-seeking between 9:00 and 11:00 am and benefits from proprioceptive input then, but needs calming vestibular input (gentle rocking, swinging) in the late afternoon. That kind of observation is gold, and it’s information no therapist can get without your real-life data.
Signs that your current strategies are working:
- Transitions are taking less time and generating less distress
- Your child is initiating sensory activities themselves (reaching for the playdough, heading to the beanbag)
- Mealtimes or dressing routines are shorter and calmer
- Sleep onset is improving
Signs it’s time to adapt:
- Your child is seeking more of a previously calming activity without it helping
- Resistance to previously enjoyed activities has increased
- You’re seeing new sensory behaviours you haven’t observed before
Flexibility alongside consistency is the real skill here. You’re not failing if you need to change things. You’re doing exactly what good sensory support looks like. Find more tracking sensory progress tips on our blog when you’re ready to go deeper.
Pro Tip: Take a short video once a week of a transition or mealtime. It is remarkably hard to notice gradual improvement in the moment, but watching back two weeks later often shows real, tangible change that you’d otherwise miss.
A parent’s perspective: what really works with sensory integration
Can I be honest with you? The thing that tripped me up most in the early days was treating sensory strategies like a prescription. I would find something that worked and then cling to it as if my life depended on it, completely missing the cues that my child had already moved on.
The most effective sensory integration methods for kids, in my experience, have one thing in common: they follow the child’s lead. Sensory integration techniques must be child-led, graded by intensity, and embedded in play to avoid overwhelm and support regulation. That word “graded” matters. You introduce a light touch before deep pressure. You start with dry textures before wet ones. You build trust before you expect participation.
The other thing I’d gently challenge is the idea that calming tools are the whole answer. A child sitting peacefully on a beanbag is lovely, but if that’s the only sensory tool in your kit, you’re missing the functional piece. The goal isn’t just calm. It’s calm so they can do something: eat a meal, put on their shoes, join in with a sibling. Combine calming input with a meaningful, achievable task straight afterwards, and you start building real participation skills alongside regulation.
Embedding activities in play is what makes this sustainable. Playing “bear walk races” in the garden is proprioceptive input. Rolling playdough into snakes whilst chatting is tactile therapy and communication practice at once. The children who respond best to strategies for sensory integration are not the ones being sat down for structured exercises. They’re the ones whose parents have figured out how to make the input invisible inside the fun. Take a look at our child-led sensory play sessions to see this in action.
Consistency is still vital. But consistency means showing up with a flexible, curious attitude, not doing the exact same five things in the exact same order forever. Your child is growing. Let the strategies grow with them.
Discover sensory play sessions and support in Brighton
If you’re finding your home strategies are working but you’d love some extra support, or simply want your child to experience sensory play with others who truly get it, Fidget and Spin in Brighton was built exactly for this.

Our sensory play sessions in Brighton are designed to be child-led, sensory-rich, and genuinely welcoming for neurodiverse children aged one to seven and their grown-ups. Each session features themed sensory zones that naturally deliver the proprioceptive, tactile, and vestibular input that supports regulation, all wrapped up in imaginative play. Want to understand more before booking? Find out how sensory sessions work and what your child can expect. Places fill up quickly, so if you’re keen, join the Fidget and Spin waitlist to secure your spot. You don’t have to do this bit alone.
Frequently asked questions
How often should I do sensory integration activities with my child at home?
Aim for four to five sensory activities every 90 to 120 minutes throughout the day to keep your child’s sensory system regulated and support their participation in daily routines. Short and frequent is far more effective than one long session.
What are some simple proprioceptive activities I can try with my child?
Try wall pushes, animal walks, chair push-ups, or carrying a small backpack before tricky tasks. Proprioceptive activities like these before mealtime or dressing help prepare your child’s nervous system so they feel calmer and more ready to participate.
How do I create an effective visual schedule for my young child?
Use two to four steps with real photos of your child doing each activity, place the schedule at eye level in a consistent spot, and teach them to use a completion system like flipping cards to signal the end of each step. Stick with it daily for at least two weeks.
How can I tell if the sensory activities are working for my child?
Keep a brief daily log noting activities, timing, and your child’s behaviour before and after. Tracking these responses reveals patterns over time, and you’ll start to notice calmer transitions, shorter routines, and your child initiating their favourite activities themselves.
When should I seek professional support for sensory integration?
If home strategies are not helping, your child’s daily life remains significantly disrupted, or any safety concerns arise, it is important to consult a paediatric occupational therapist who can provide a tailored sensory integration programme.